In the world of gardening and farming, your sprayer is an indispensable tool. “Proper Sprayer Maintenance” is an article designed for you – to help ensure that your equipment remains in top-notch condition and performs at its peak for as long as possible. This piece provides you with some well-curated tips and tricks, catered to your needs, towards maintaining your sprayer equipment effectively. It’s time to equip yourself with knowledge and make your sprayer’s longevity a true testament to your maintenance prowess.

Understanding the Importance of Sprayer Maintenance
Sprayers are vital tools that enable us to distribute water, pesticides, herbicides, and other solutions uniformly across the garden or field. They play a crucial role within the agriculture industry and amongst DIY garden enthusiasts. However, their efficiency depends significantly on proper maintenance.
The correlation between sprayer performance and maintenance
The performance of your sprayer is directly linked to its upkeep. Just like a car, sprayers have multiple moving parts that need regular servicing to ensure they keep running smoothly. Neglecting this maintenance can result in clogs, leaks, and ultimately, a less effective tool for your gardening or agricultural needs.
How maintenance contributes to the longevity of the sprayer
Regular and proper maintenance does more than just keep your sprayer working at its optimal level. It also extends its lifespan, allowing you to get more value out of your investment. Well-kept sprayers can prevent the occurrence of faults and breakdowns that might otherwise lead to the premature retirement of the equipment.
Consequences of improper or neglected maintenance
Neglecting standard maintenance procedures can lead to all manner of problems with your sprayer. These could range from minor inconveniences, such as blockages that stop the sprayer from working effectively, to more significant issues like total equipment failure. Regular maintenance is a critical aspect of ensuring your sprayer is in good working order and ready for use whenever you need it.
Basic Sprayer Components
Your sprayer, no matter the brand or size, contains several basic components. Understanding these components is the first step towards maintaining your equipment effectively.
Identifying major components of the sprayer
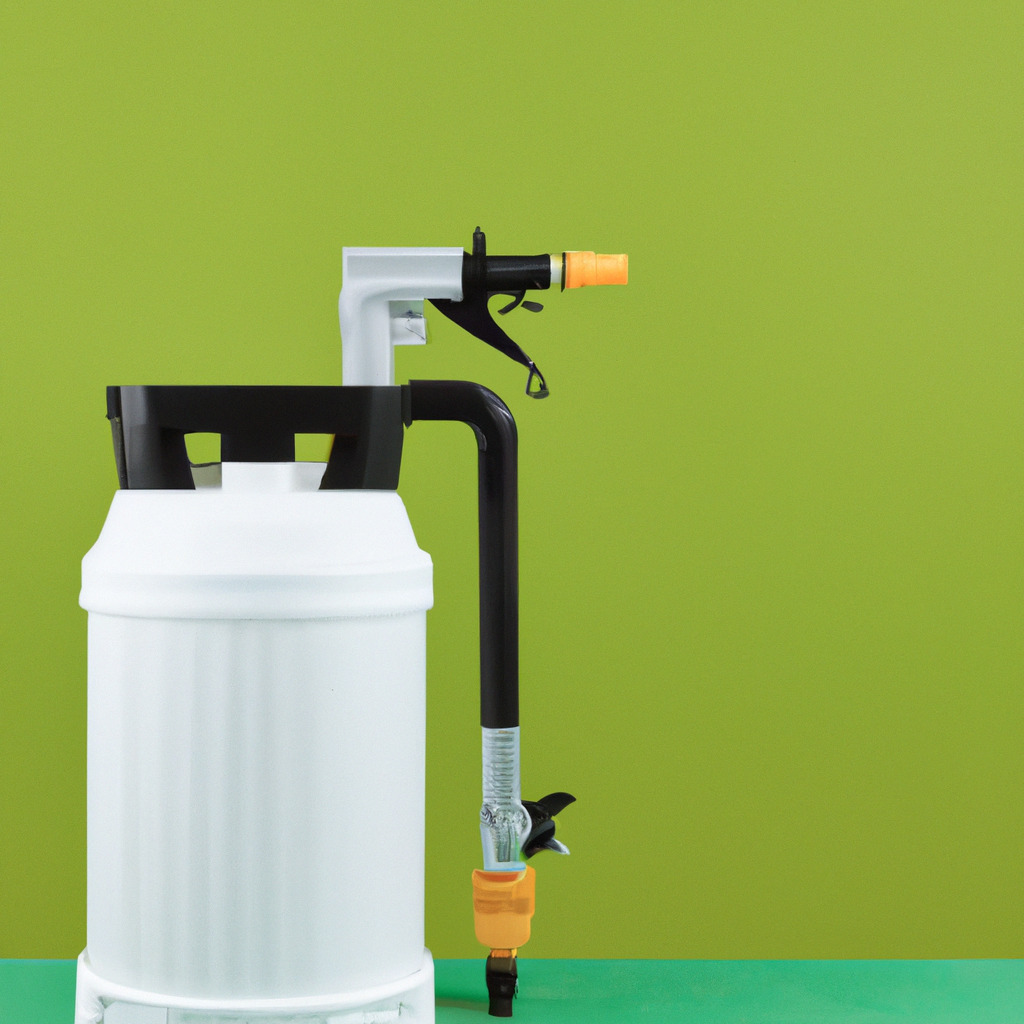
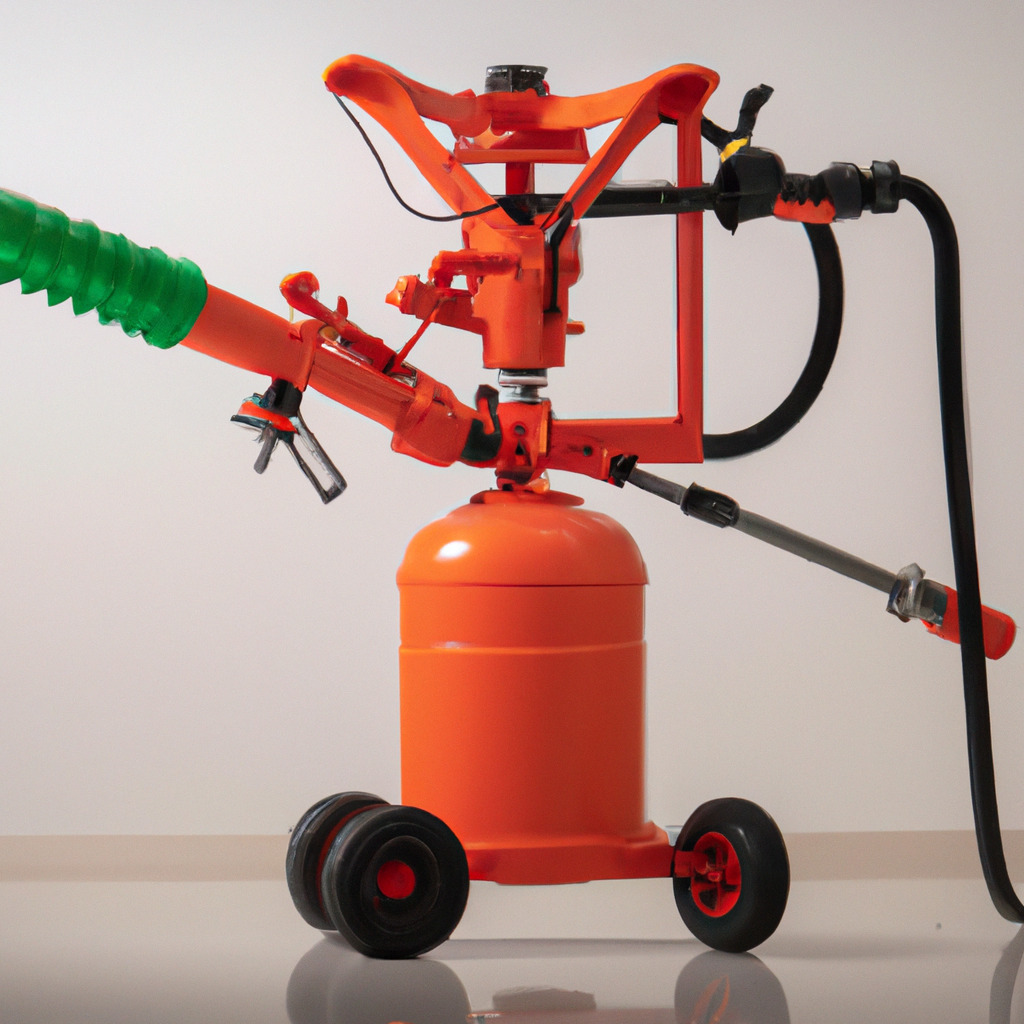
Every sprayer is composed of several key components— a tank that holds the spray mixture, a pump to create pressure, a hose and wand to direct the spray, a nozzle to deliver it and seals, and O-rings to prevent leaks.
Understanding the function of each component
The tank holds the spray solution; the pump pressurizes the liquid to be sprayed; the hose and wand guide the liquid under pressure to the nozzle that atomizes the solution into droplets for application. Seals and O-rings prevent leaks that could lead to loss of pressure and wasted spray material.
Recognizing the signs of wear and tear
Each of these components will show signs of wear over time, and understanding these signs could save costly replacements. Tanks can crack, pumps may become inefficient, nozzles can clog, and seals can degrade. Being able to identify these issues is crucial to maintaining the sprayer’s effectiveness.
Owner Manual: Your Sprayer Maintenance Guide
The owner manual that comes with your sprayer is an invaluable tool for its maintenance. It can guide you on what care your specific model needs, the recommended schedule for this maintenance, and any additional tips to enhance its performance.
Why reading and understanding the manual is crucial
While sprayers generally work on the same principle, different brands or models may have specific maintenance requirements. The manual is your primary source of information about your particular sprayer. Not only will it guide you through initial setup, but it also provides specific instructions for long-term care.
Basic maintenance tips typically included in a manual
Most manuals will give you guidelines on cleaning the different components of your sprayer, checking and replacing worn parts, troubleshooting common issues, and how to store your sprayer when it’s not in use.
How to understand and implement manufacturer’s maintenance recommendations
Manuals may often have technical terms and jargon. Take your time and don’t rush. Look up any terms you don’t understand. When you’ve grasped the information, develop a routine maintenance schedule to ensure you’re effectively prolonging the life and performance of your sprayer.
Maintaining the Pump
The pump is the heart of your sprayer. Regular care is required to keep it in peak performing condition.
How to regularly check and clean the pump
Regular inspection of the pump for leaks or decreased pressure can reveal early signs of wear. Cleaning it involves purging the pump with clean water to remove any leftover chemicals that could corrode the pump’s inner workings.
The importance of pump lubrication
Applying lubricant to the pump keeps it functioning smoothly and effectively. Lubrication also decreases friction in the pump’s parts, which reduces damage and increases the pump’s overall lifespan.
Recognizing signs of pump malfunction
In case of a dramatic decrease in pressure, unusual noises, or leaks, your pump may need attention. Please consult your user manual or seek professional help as soon as possible to prevent further damage.

Maintaining the Nozzle
A sprayer’s nozzle helps regulate the flow of the spray, enabling it to cover a vast area effectively.
Why proper nozzle maintenance is crucial
A nozzle clogged with residue or damaged can not only interrupt the flow but also change the spray pattern. This could lead to ineffective spraying or unnecessary wastage of spray material.
Steps to clean and check the sprayer nozzle
Cleaning the nozzle is relatively straightforward. Remove it from the wand, soak it in a cleaning solution, and then rinse with clean water.
Understanding when and how to replace the nozzle
Nozzles wear out over time, and when this happens, the spray pattern may become inconsistent or erratic. When you notice this, it’s time to replace the nozzle. Check your manual for specific instructions on how to do this.
Hose and Wand Maintenance
The hose in your sprayer conveys fluid from the pump to the nozzle, while the wand aids in the optimal application of the spray.
Checking for cracks, leaks, and damages in the hose and wand
A visual examination can help detect potential leaks or cracks in the hose and wand. Mending minor damages in time can prevent more significant issues, such as loss of pressure or inappropriate spraying.
Proper cleaning procedures
Flushing the hose and wand with clean water after each use is a basic yet vital maintenance procedure that prevents clogs and chemical buildup.
How to replace a damaged hose or wand
If your hose or wand is damaged, replacing it is generally straightforward. Unscrew the old part, then screw in the new one. However, refer to your owner’s manual for specific instructions.
Tank Maintenance
Maintaining the tank, where the spray solution is held, might seem obvious, but some aspects of that maintenance can often be overlooked.
The importance of regularly cleaning the tank
Regular cleaning of the tank prevents the buildup of residues that could potentially clog the sprayer or alter the effectiveness of your solutions.
Best practices for cleaning and storing the sprayer tank
The tank should be rinsed with clean water after each use. When not in use, the tank should be stored empty and with the lid off to allow it to air out.
What to do if the tank is damaged
If your tank gets cracked or compromised in any way, it’ll need replacing. A damaged tank can lead to leaks that will make spraying ineffective and messy.
Maintaining Seals and O-rings
Seals and O-rings are small components in sprayers that help maintain the pressure and prevent leakage of spray fluid.
Understanding the importance of seals and O-rings
Seals and O-rings, though small, play vital roles in maintaining the sprayer’s efficiency. They help to seal connections and prevent unwanted leakage or spillage that may not only lead to wastage but also interfere with the device’s functionality.
Checking for wear and replacements
Over time, seals and O-rings can become worn out and may not fit as snugly as they should. Regularly checking them for wear and replacing them when necessary is a crucial maintenance step.
Proper lubrication procedures
Keeping seals and O-rings lubricated helps maintain their flexibility and extends their lifespan. Use only the recommended lubricant, as stated in your owner’s manual.
Prevention of Chemical Damage
When not properly cleaned, the chemicals you use in your sprayer can erode its parts, leading to inefficiency and a shorter lifespan.
How chemicals can damage your sprayer
Corrosive chemicals can eat away at the seals, nozzles, and other components of your sprayer. This erodes the effectiveness of these parts and can lead to leaks, blockages, and an overall reduction in performance of the sprayer.
Precautions to take when working with chemicals
Always wear protective clothing when using chemicals in your sprayer and follow the manufacturer’s guidelines related to concentration levels and dilution ratios.
Procedures to clean and neutralize chemical residues
After using chemicals, flush out your sprayer with clean water, paying extra attention to the pump, hose, wand, and nozzle. This rinses away any residues that might corrode your sprayer’s parts.
Troubleshooting Common Sprayer Problems
Even with the best care and maintenance, sprayers can sometimes develop problems. But don’t worry. Most issues are easily fixable and don’t require extensive knowledge or expertise.
What to do when your sprayer is not working properly
If your sprayer isn’t working correctly, firstly, don’t panic. Check the basic components first. Look for clogs in the nozzle and hose, leaks in the pump, or any wear on the seals and O-rings.
Common sprayer problems and how to fix them
Some problems you might encounter include a decrease in pressure, a change in the spray pattern, or leaks. These are often caused by accumulated residue, a worn-out nozzle, or a faulty seal, respectively, and often can be fixed by cleaning and replacing parts, as necessary.
When to call a professional for help
While many issues can be resolved with troubleshooting, certain breakdowns require professional help. If your manual doesn’t cover the issue or if you’ve followed the instructions and still can’t solve the problem, it may be time to call in a professional. It’s better to invest in a professional repair than to risk additional damage trying to fix it yourself.
Proper sprayer maintenance is key to keeping your garden or field in top shape. By understanding the components of your sprayer and how to take care of them, you’ll ensure that your sprayer remains in peak condition for many years to come. Happy spraying!
Contents on This Page
- Understanding the Importance of Sprayer Maintenance
- The correlation between sprayer performance and maintenance
- How maintenance contributes to the longevity of the sprayer
- Consequences of improper or neglected maintenance
- Basic Sprayer Components
- Identifying major components of the sprayer
- Understanding the function of each component
- Recognizing the signs of wear and tear
- Owner Manual: Your Sprayer Maintenance Guide
- Why reading and understanding the manual is crucial
- Basic maintenance tips typically included in a manual
- How to understand and implement manufacturer’s maintenance recommendations
- Maintaining the Pump
- How to regularly check and clean the pump
- The importance of pump lubrication
- Recognizing signs of pump malfunction
- Maintaining the Nozzle
- Why proper nozzle maintenance is crucial
- Steps to clean and check the sprayer nozzle
- Understanding when and how to replace the nozzle
- Hose and Wand Maintenance
- Checking for cracks, leaks, and damages in the hose and wand
- Proper cleaning procedures
- How to replace a damaged hose or wand
- Tank Maintenance
- The importance of regularly cleaning the tank
- Best practices for cleaning and storing the sprayer tank
- What to do if the tank is damaged
- Maintaining Seals and O-rings
- Understanding the importance of seals and O-rings
- Checking for wear and replacements
- Proper lubrication procedures
- Prevention of Chemical Damage
- How chemicals can damage your sprayer
- Precautions to take when working with chemicals
- Procedures to clean and neutralize chemical residues
- Troubleshooting Common Sprayer Problems
- What to do when your sprayer is not working properly
- Common sprayer problems and how to fix them
- When to call a professional for help


